Single-color crystal band
A single crystal color on a removable, nonfunctional outer cover creates the cleanest transformation and is easiest to repair later. Mark a centered start line, work symmetrically toward both ends and keep padding, hinges and adjustment tracks clear. Check the cover and adhesive manufacturer guidance and allow its full curing time before wearing.
Gradient ear-cup border
Build a controlled gradient around the outer ear-cup rim, moving from large dark stones to smaller pale stones in three planned steps. Lay out the sequence on removable tape first so both sides match. Never cover microphones, touch controls, vents or seams that a technician may need to open.
Tiny motif cluster
Place one small motif cluster—such as a star, heart or initial—on a flat, nonfunctional area instead of scattering shapes across the entire device. The cluster should read clearly from arm's length and leave most of the original finish visible. Make a paper template first to test scale and orientation on both ear cups.
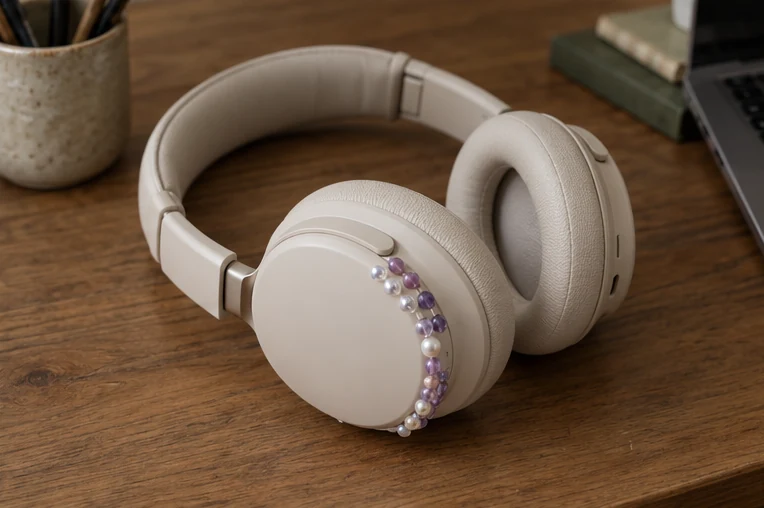
Pearl and silver mix
Mix pearls with silver crystals in a repeating ratio, for example one pearl after every two stones, to keep the surface orderly. Choose lightweight flat-backed pieces so the headphones do not become uncomfortable or unbalanced. Test a discreet spot for finish compatibility and stop if the adhesive clouds or softens the coating.
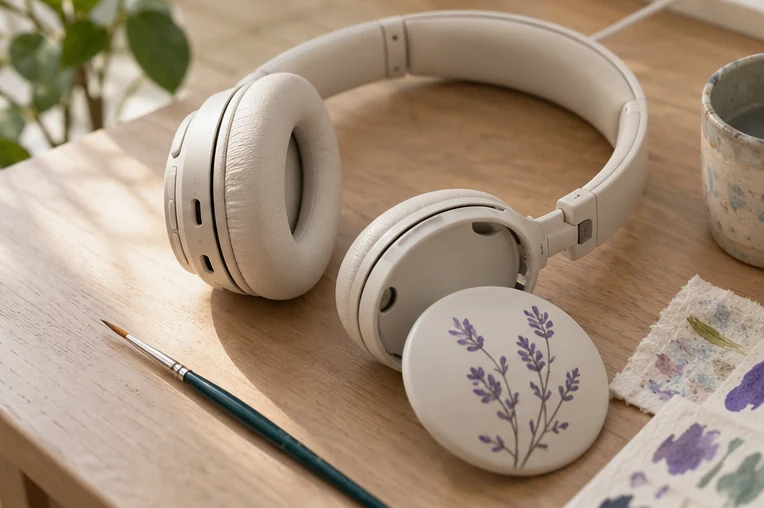
Removable decorated cover
For the most reversible option, decorate a removable ear-cup shell or accurately fitted cover instead of the headphones themselves. Confirm that the cover does not trap heat, block controls or interfere with charging and folding. Photograph the plain and decorated versions side by side so viewers understand that the design can be removed.
Placement ideas for a removable cover or clear outer area. Device and adhesive compatibility remain untested.