Clay Bag Charms: 5 Tiny Design Directions
Clay bag charms inspiration with practical, visual ideas you can adapt. Explore air dry clay charms and bag charm ideas in this focused guide, then save the direction you want to try next.
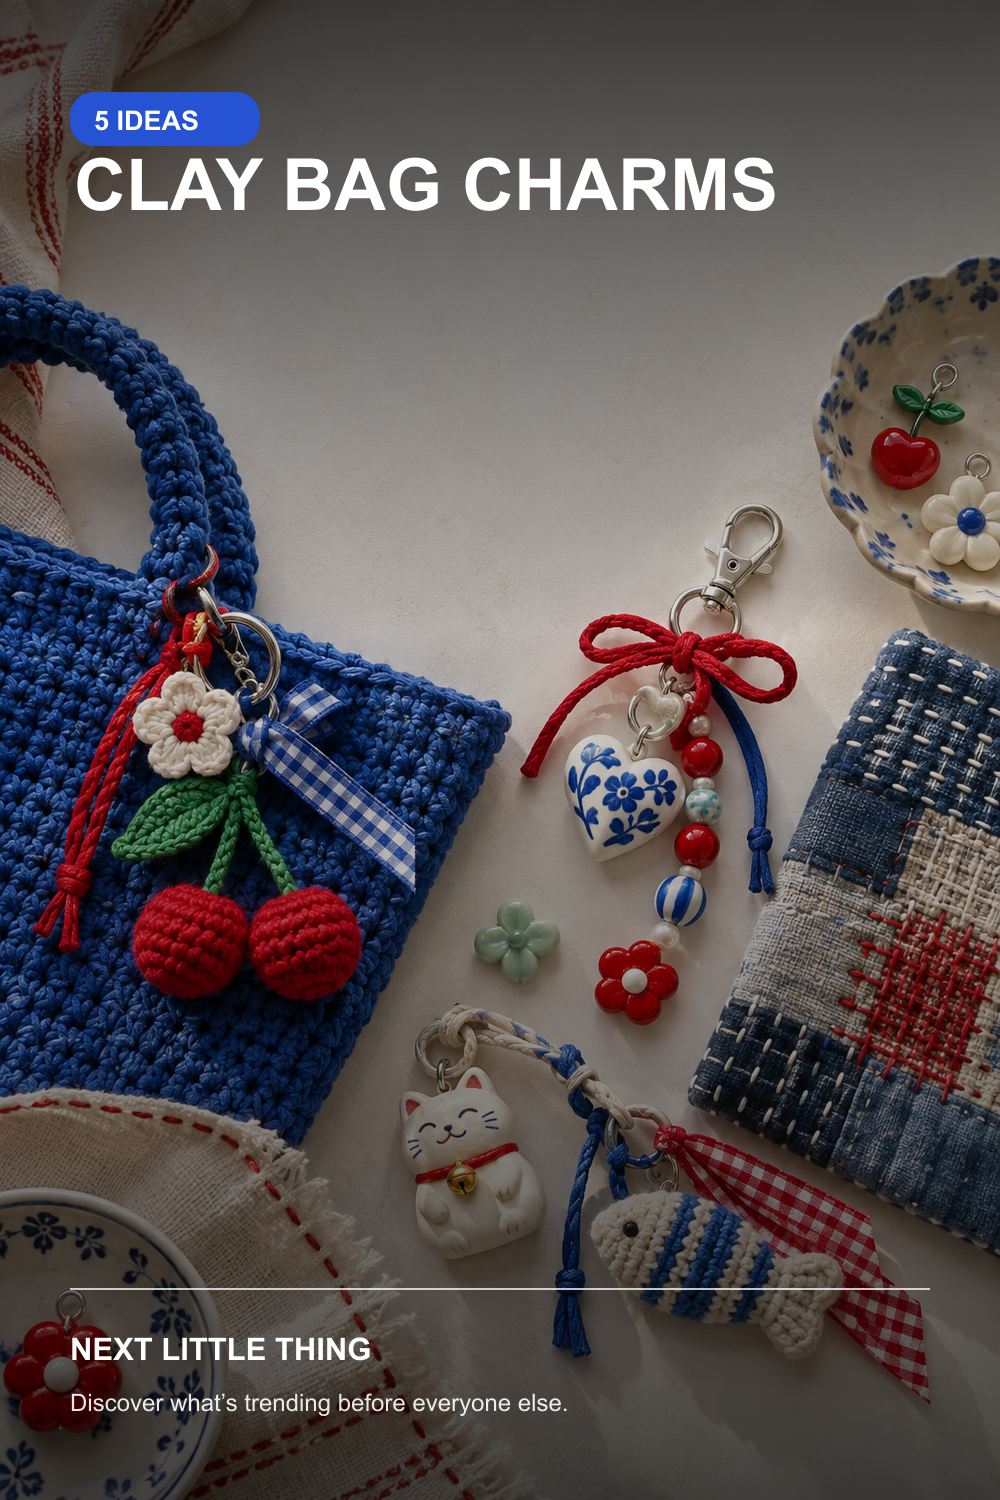
Trend signal: Pinterest Hobbies 2026: +1,499% global YoY.
5 directions to explore
- Glossy fruit shapes
Build fruit charms from two or three simple clay volumes so the silhouette remains readable at thumbnail size. A thin gloss coat can make cherries, citrus or berries feel polished, but seal only after the piece is fully dry or cured. Embed the eye pin securely and test the join before attaching it to a bag.
- Miniature lucky symbols
Translate a familiar lucky symbol into a compact shape with rounded edges, such as a star, horseshoe or small eye motif. Limit the palette to one base color plus a contrasting detail so the symbol does not become visually muddy. Avoid copying sacred or culturally specific symbols without understanding their meaning.
- Pressed botanical textures
Press a clean leaf, herb or textured fabric lightly into soft clay, then crop the impression into a small oval or tag. A diluted wash can emphasize the recessed pattern without covering the handmade texture. Let air-dry clay cure completely on both sides before sanding or sealing it.
- Graphic checkerboard charms
A checkerboard works best with an even grid and only two high-contrast colors. Score guides before painting rather than correcting irregular squares with thicker layers, and leave a plain border around the hanging hole. A matte finish keeps the graphic surface crisp and reduces distracting glare in photos.
- Tiny food-inspired pieces
Choose one food shape with a distinctive outline—a croissant, tomato or tiny iced bun—and simplify details that disappear from arm's length. Use paint for fine markings instead of adding fragile clay protrusions. The finished charm should be light, smooth on the back and strong enough to survive normal movement on a bag.
How to use this edit
These five directions are an editorial starting point for clay bag charms, not a requirement to use every idea at once. Pick the option that best matches your setting, materials and skill level, then make one controlled change at a time so you can see what genuinely improves the result.
Adapt materials and methods to your tools and skill level. Test finishes and adhesives on a small area first.