Mini Pumpkin Painting: 5 Handmade Halloween Designs
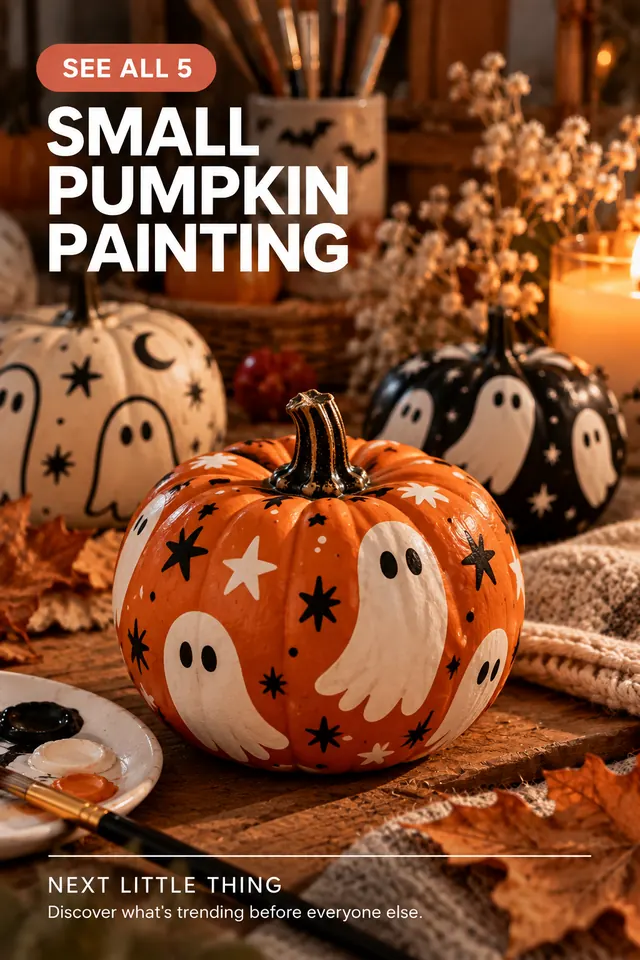
Small pumpkins are a simple canvas for Halloween and fall. These five painted designs cover the ghost, floral and modern wavy looks shown in our pins, with enough detail to make each one yourself.
All 5 ideas
- Friendly ghosts and little stars
Paint a solid orange, cream or black base and let it dry. Add two or three loose white ghost shapes, then give each ghost two tiny black eyes. Fill the spaces with small stars or dots. Keep the ghosts large enough to read from across a room; a fine brush is best reserved for their faces.
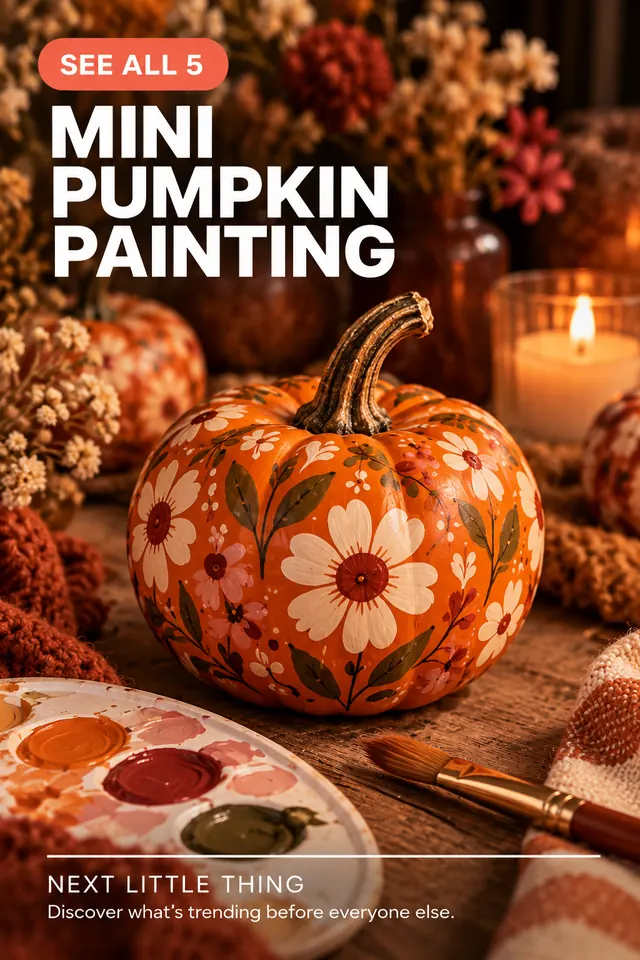
- Tiny autumn florals
Start with a warm cream or terracotta pumpkin. Paint a loose spray of five-petal flowers on one side, with sage leaves and thin stems wrapping around a ridge. Repeat only two or three flower clusters so the pumpkin still looks hand painted rather than covered in pattern.
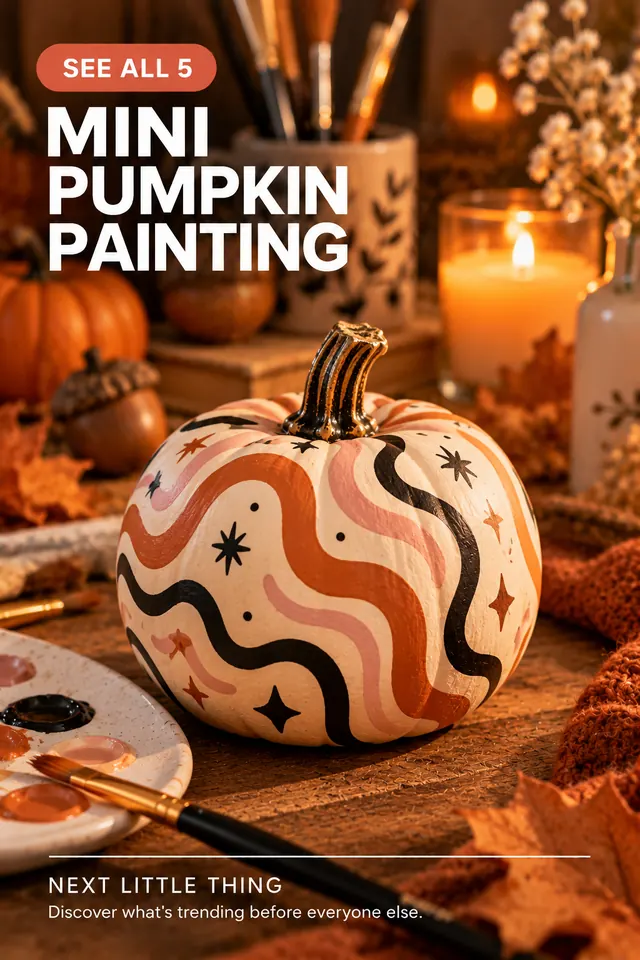
- Wavy modern stripes
Choose two contrasting fall colors, such as rust and blush or olive and cream. Follow the pumpkin’s natural ridges with broad, uneven waves. Leave part of the original pumpkin visible and finish with one thin accent line; the spacing is what makes this design look modern.
- Midnight moon and stars
Use a deep navy or charcoal base, then paint a crescent moon and scattered cream stars. Make one moon the focal point and vary the stars’ sizes. This gives a darker Halloween option without needing a carved pumpkin.
- Simple color-blocked faces
Divide a mini pumpkin into two or three curved areas and paint each a different autumn shade. Add a small smiling face or a pair of eyes to only one section. It is a quick, forgiving option for beginners and looks especially good in a group of mixed sizes.
See the visual directions
These images illustrate the painted looks described above. Adapt the colors, motif scale and level of detail to the size and surface of your pumpkin.
Before you start
For real pumpkins, wipe the surface dry first and use craft paint suitable for the surface. Let each layer dry before adding details. Keep painted pumpkins away from open flames.