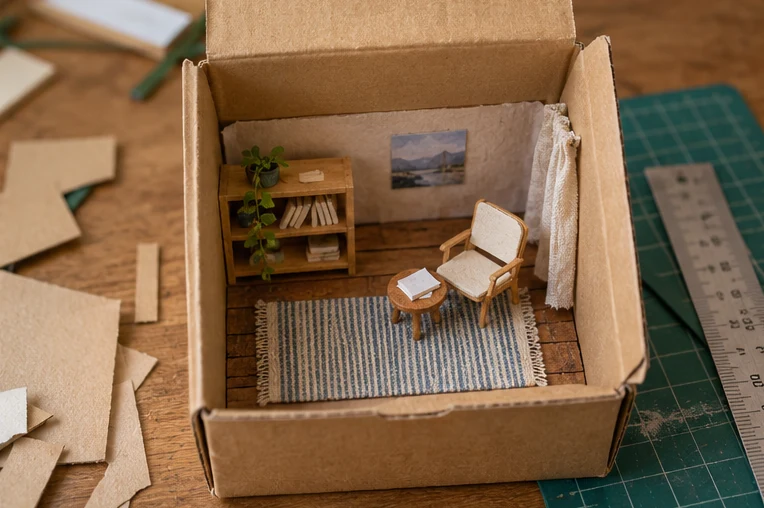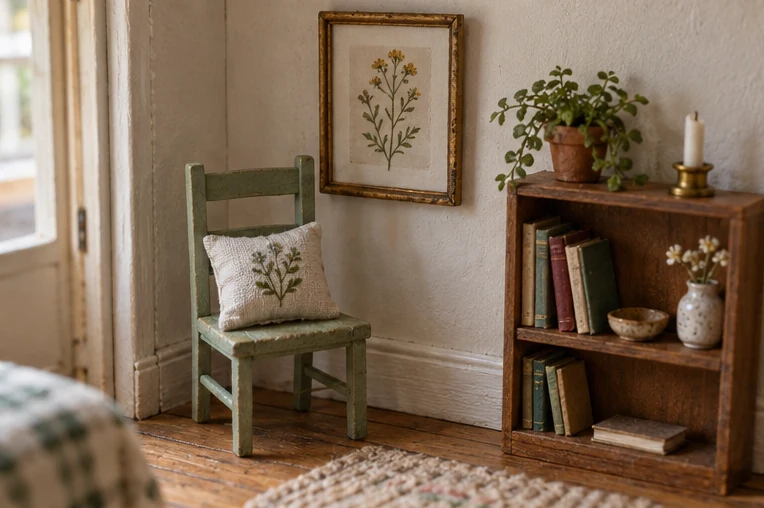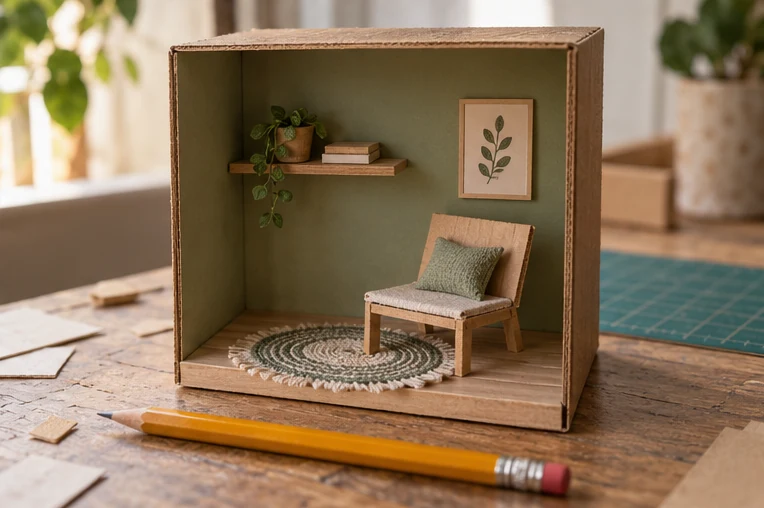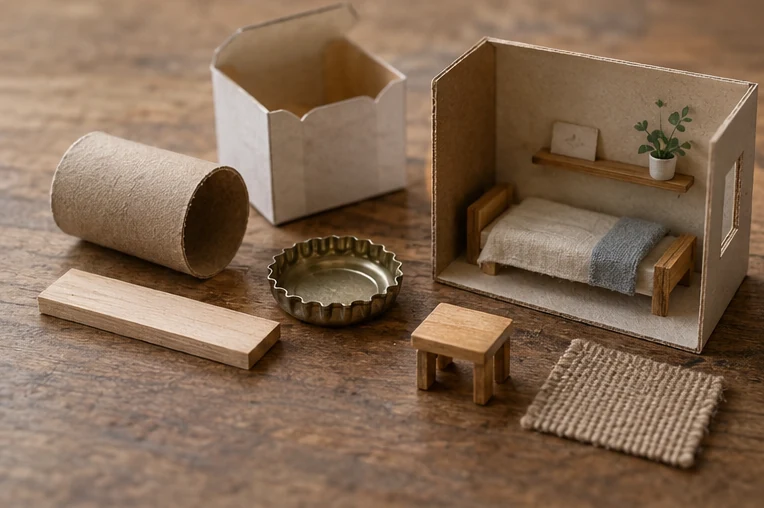
A clean box becomes the room
Use
A dry corrugated box, ruler and pencil; scissors or an adult-handled craft knife if the walls need trimming. A larger clean box is an alternative.
Try this sequence
For the Reading Nook, measure at least 180 × 140 × 160 mm inside. Mark the front opening and leave access through the top. Keep the base, back and side walls; measure again where folds double the thickness. Fit the wallpaper against the actual walls rather than the outside of the box.
Watch for
Do not use damp, greasy or mouldy packaging. A bowed base or crushed flute changes the fit; reject it rather than relying on the wallpaper to straighten it.
Reading Nook floor plan and wallpaper ↓A bottle cap becomes a side table
Use
A clean smooth cap, scrap card to roll into a broad short support, and paper-safe glue. Use a larger or smaller cap only after measuring its fit.
Try this sequence
The nook drawing allows a top about 25 mm across, centred at (98,80) mm. Measure your cap first. Roll the support with a flat bottom and a width that keeps the empty cap balanced. Set the cap on it without glue, then gently nudge it from different directions. Shorten or widen the support if it tips.
Watch for
Cap depth and weight vary. Leave a rusty or sharp-edged metal cap out. This is a decorative table, not a candle holder, working lamp or load-bearing object.
No dedicated cap pattern is supplied; the part must be measured.
A paper tube becomes a small plant pot
Use
A short section of a clean paper tube, scrap paper to cover the edge, and paper leaves. Rolled card is an alternative if the tube is too wide.
Try this sequence
Measure the tube diameter next to the 42 mm-wide chair before choosing the pot height. Mark the cut all around with a paper band; an adult should handle any knife cut. Cover rough fibres with a strip of paper. Dry-fit rolled-paper stems and leaves before applying a small amount of glue.
Watch for
Tube diameters are not standard here, so no universal cut dimension is promised. Keep the base broad enough to stand. Use no real water, flame, batteries or lights.
Paper leaf shapes on page 7 ↓A fabric scrap becomes a rug
Use
A clean fabric offcut, scissors and a ruler. The original paper rug in the nook kit is an alternative.
Try this sequence
Trace a 90 × 60 mm rectangle, following the supplied drawing. Cut with the weave rather than pulling a bias edge. Place it at (60,70) mm in the nook: part of it intentionally sits under the chair. Check that the fabric thickness does not make the chair rock.
Watch for
Test fraying, color transfer and glue on an offcut. A thick pile changes the floor level; use a thinner textile or the paper rug if the chair no longer sits evenly.
90 × 60 mm paper rug on page 7 ↓Scrap paper becomes a shelf of books
Use
Clean paper for covers and small paper blocks; blunt scorer and scissors. Blank handmade covers are an alternative to the printed colors.
Try this sequence
Cut a 21 × 14 mm cover. Score at 10 and 11 mm across the 21 mm width, leaving a 1 mm spine. Fold it around a 10 × 14 × 1 mm paper block, or leave it hollow as a prop. Make one book first and check it under the shelf before cutting the rest.
Watch for
Paper thickness affects the fold and spine. Avoid heavy inserts and protected cover artwork for redistributed files. The tiny printed words are optional decoration, not essential instructions.
Twelve original book covers on page 7 ↓Keep the useful numbers at hand.
Download the original measurement card ↓
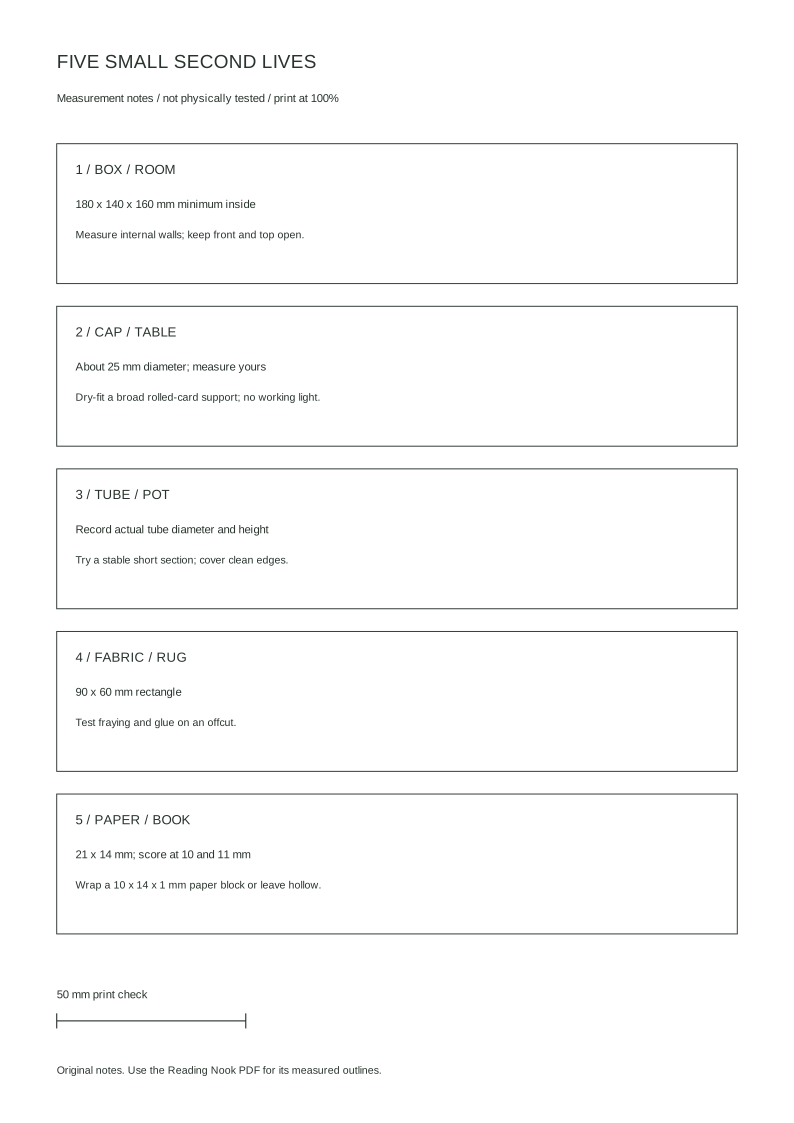
A4 vector notes, with a 50 mm print check. It is a reminder sheet, not a new set of cut patterns. Use the Reading Nook PDF for the actual furniture, rug and book outlines.
Open the Reading Nook kit and its full instructions. For folded-paper depth rather than a box, explore the Tiny Bookshop Tunnel Book.
Five specific material swaps, measured Reading Nook examples and links to the original files. Physical trials remain unperformed.